Nothing ruins a travel day faster than standing in a serpentine security line while your boarding time ticks closer. But here’s what experienced travelers know: the difference between a 45-minute wait and a 5-minute walk-through often comes down to preparation and knowing exactly how the system works.
Whether you’re a frequent flyer or planning a once-a-year vacation, these twelve strategies will help you get through airport security faster and with less stress.
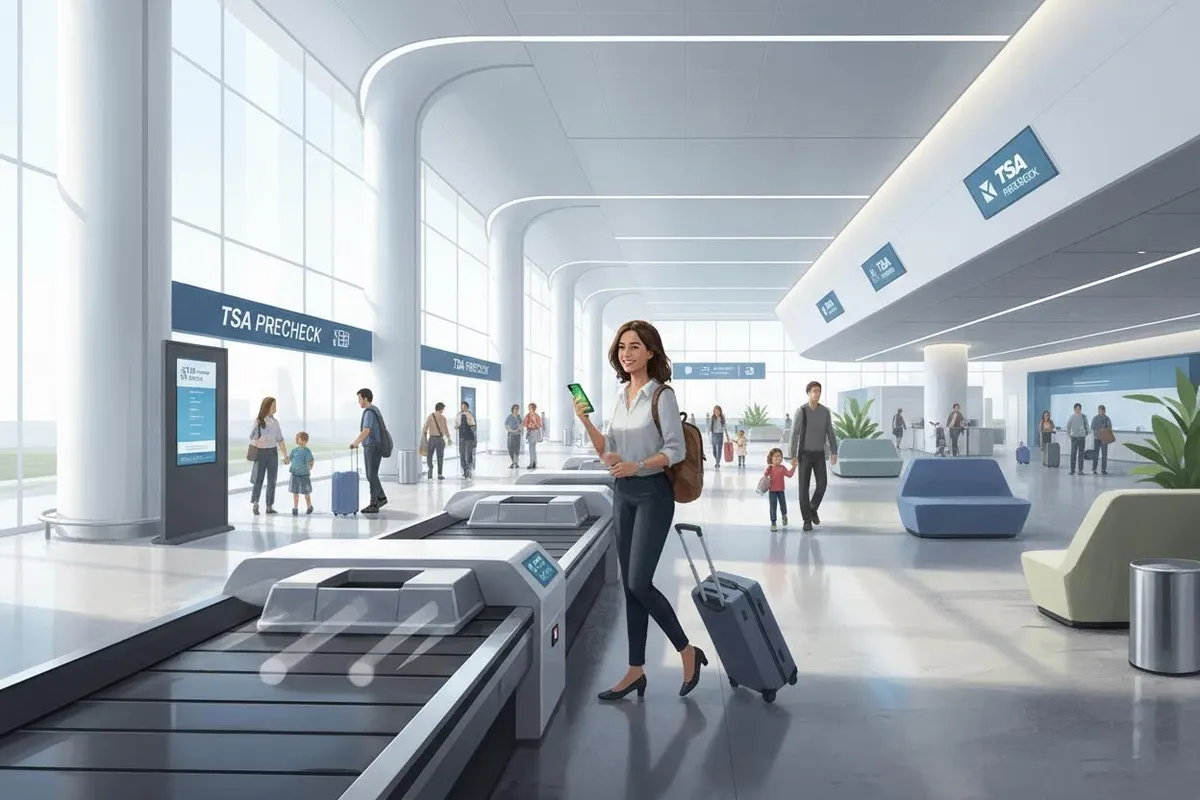
Understanding TSA PreCheck
TSA PreCheck is a trusted traveler program that lets approved passengers go through a dedicated security lane. The perks are real: 99% of passengers wait less than 10 minutes. You keep your shoes on. Your belt stays attached. Your laptop and liquids stay in your bag. You simply walk through the scanner without the usual undressing ritual.
The application is simple enough. Fill out an online form at tsa.gov, schedule a quick appointment at an enrollment center, and provide your fingerprints. The $78 covers five years, which breaks down to about $16 per year. Most people qualify—there are no citizenship restrictions for domestic travel.
One thing to note: renewals can often be done online if you apply before your membership expires, so you won’t have to make another trip to an enrollment center.
Is it worth it? If you fly more than twice a year, absolutely. The time savings add up quickly. Instead of fumbling with your shoes and belt while everyone waits, you’re walking through fully dressed. Over five years, that’s dozens of flights where you breeze past the people still undressing.
How to Apply
Here’s the step-by-step:
- Go to tsa.gov/precheck and click “Apply Now”
- Enter your information, including travel history
- Pay the $78 fee
- Schedule an appointment at a nearby enrollment center
- Visit the center with your passport or state ID
- Wait for approval—usually 3-5 days
The in-person part takes about 10 minutes. They’ll take your fingerprints and verify your documents. Once approved, your Known Traveler Number goes on your boarding pass, and you’re instantly eligible for PreCheck on all future flights.
Who Qualifies
Most applicants get approved. The program looks for people without certain criminal convictions or immigration violations. Non-citizens need to provide additional documentation. If you’ve ever been denied entry to the US or have certain convictions, you may not qualify. The online application will tell you immediately if you’re likely to be approved before you pay the fee.
Adding PreCheck to Your Airline Account
Once approved, add your Known Traveler Number to your airline frequent flyer profile. This ensures PreCheck appears on your boarding pass. Some airlines do this automatically when you enter your number in your profile. Others require you to enter it during booking. Check your airline’s website to make sure it’s properly connected.
The 3-1-1 Liquid Rule
The TSA’s 3-1-1 rule is the most commonly misunderstood regulation at security checkpoints:
- 3.4 ounces (100ml) or less for each container
- 1 quart-sized clear bag to hold all liquids
- 1 bag per passenger
This applies to water, shampoo, conditioner, lotion, toothpaste, cosmetics, and anything else that pours, spreads, or gels. The bag must be transparent and resealable. Place it in your carry-on where it’s easily accessible—you’ll need to remove it at the checkpoint.
What counts as a liquid: peanut butter, honey, jam, yogurt, cream cheese, lip balm, mascara, perfume, and hand sanitizer over 3.4 ounces.
What doesn’t count: solid foods, medications (which have separate rules), and baby formula for traveling children.
Dress for Success at Security
What you wear directly impacts how quickly you move through the checkpoint. Smart clothing choices save precious minutes.
Slip-On Shoes
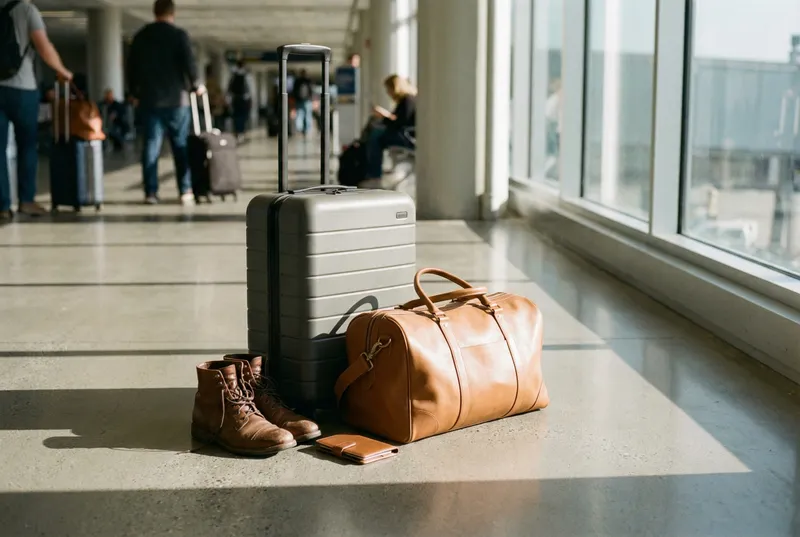
Lace-up boots might look stylish, but they’re a time sink at security. Fumbling with shoelaces while people queue behind you creates unnecessary stress.
Go for loafers, slip-on sneakers, mules, or sandals that are easy to remove and put back on. Skip combat boots, lace-up hiking boots, and shoes with complicated buckles. If you must wear boots, choose zip-up variants that come off quickly.
Minimize Metal and Layers
Metal triggers the metal detector, requiring additional screening. Before you leave for the airport:
- Leave chunky jewelry at home—statement necklaces, heavy watches, and excessive piercings all cause alerts
- Wear a simple belt—avoid belts with large metal buckles
- Choose a light jacket—heavy layers get removed anyway
- Skip metal hair accessories—hairpins and metal headbands can set off alarms
The Pocket Strategy
Empty your pockets completely before entering the security line. Everything—wallet, keys, phone, coins, tissues—goes into your carry-on bag. Keep these items in an outer pocket that’s easy to access. After security, you can grab them quickly instead of digging through your luggage.
Electronics Preparation
Laptops and large electronics need special handling. How you prepare them affects your wait time significantly.
The Laptop Question
In standard security lanes, you must remove laptops from your bag and place them in a separate bin. In PreCheck lanes, laptops can stay in your bag—but only if your bag fits through the scanner without triggering an alarm.
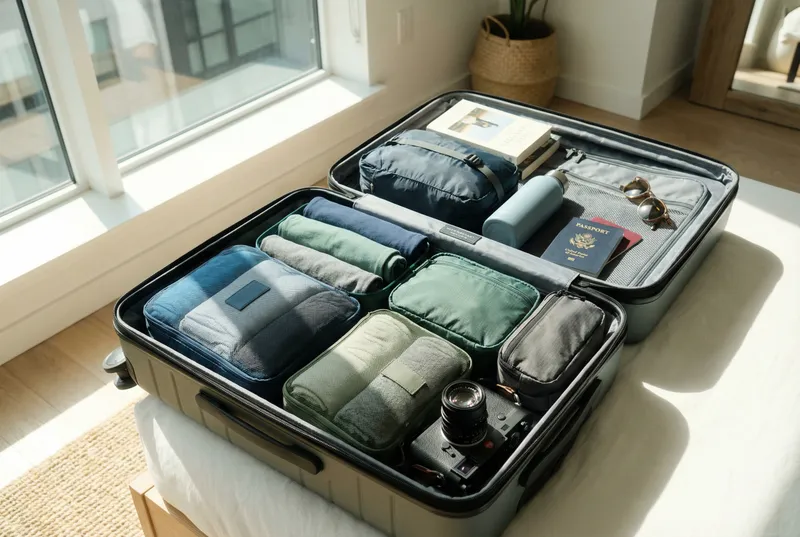
Always have your laptop easily accessible. Don’t bury it under clothes. Put it in a dedicated laptop compartment or near the top of your carry-on. A slim sleeve makes it easy to slide your laptop into the screening bin quickly.
Tablets and E-Readers
Tablets and e-readers generally follow the same rules as laptops. Some checkpoints require them removed, others don’t. Check the TSA app for your specific airport, or simply prepare to remove them to be safe.
Charging Cables and Power Banks
Charging cables and power banks are allowed in carry-on bags. Spare lithium batteries must be in your carry-on—never in checked luggage. Make sure power banks are easily accessible in case security wants to inspect them.
Choosing the Right Security Line
Not all lines are created equal. Observing the queue before you join can save significant time.
Look for Experienced Travelers
Business travelers in suits with minimal luggage move fastest. They’ve done this hundreds of times and know the drill.
Avoid lines with families with strollers and young children, large groups traveling together, or people with multiple bags and complicated setups.
Look for passengers wearing slip-on shoes, travelers with only one bag and a personal item, or people who already have their boarding pass and ID ready.
PreCheck vs. Standard Lines
If you have PreCheck, always use the PreCheck lane—even if the standard line looks shorter. PreCheck lanes consistently move faster because everyone has been vetted and follows the streamlined process.
CLEAR and Other Programs
CLEAR is a biometric screening program that speeds up the identity verification process. Instead of showing an ID, you use fingerprint or eye scan to verify your identity. CLEAR costs about $189 per year and can be combined with PreCheck for maximum speed.
The real power comes from having both CLEAR and PreCheck. With CLEAR, you skip the ID check line. With PreCheck, you skip the shoe and belt removal line. Together, you might spend five minutes total at security.
Global Entry includes PreCheck benefits plus expedited customs processing when returning from international trips. The fee is $100 for five years, and you can get it for free if you have certain credit cards that reimburse the application fee.
Many credit cards cover the cost of Global Entry or TSA PreCheck as a travel benefit. Check your card’s benefits page—you might get your application fee refunded.
Other Trusted Traveler Programs
TSA PreCheck isn’t the only option. Nexus is a program for frequent travelers between the US and Canada that includes PreCheck benefits. SENTRI is for US-Mexico border crossings. If you travel internationally frequently, Global Entry is likely your best bet.
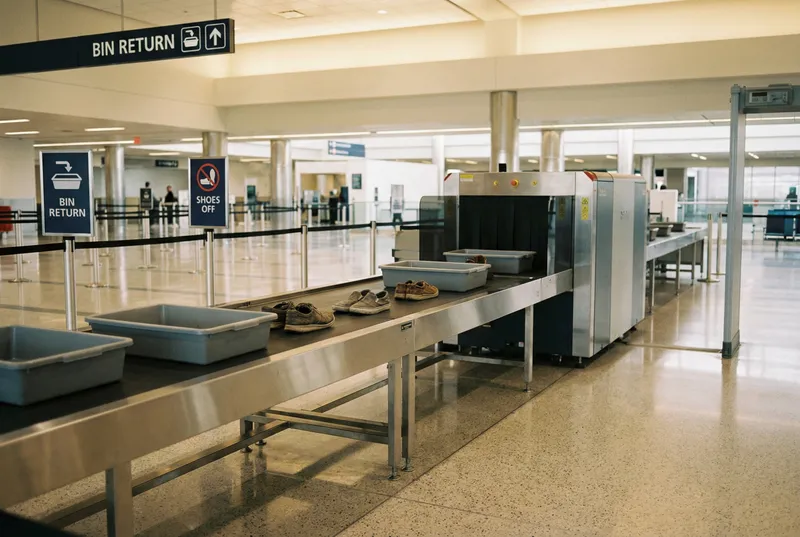
At the Checkpoint
Once you’re at the bin station, efficiency matters. Here’s how to move through like a pro.
Prepare Before You Arrive
Have your boarding pass out and ready before you reach the TSA officer. Some checkpoints verify documents before screening, others after. Either way, having it in your hand speeds things up. Keep your ID accessible too—you’ll need to present it, then pocket it before walking through the scanner.
Bin Strategy
Grab two bins immediately. Use one for your shoes, belt, and jacket. Use the second for your carry-on bag, laptop, and liquids.
Don’t wait for the person in front of you to finish completely. As soon as they move toward the scanner, start loading your bins. The conveyor belt handles multiple people’s items simultaneously.
The Scanning Position
When you reach the body scanner:
- Feet on the yellow marks
- Hands above your head
- Stand still until the officer signals you to move
Fidgeting or moving too soon triggers additional screening. Follow instructions precisely and you’ll walk through in seconds.
After the Scan
Once you pass through, grab your bins and move to the seating area. Don’t stop at the end of the conveyor belt—that blocks everyone behind you. Find a clear spot and repack efficiently. Put your shoes and belt back on first, then organize your bag.
Check that you have everything before walking away. It’s easy to forget your phone or boarding pass in the shuffle.
Special Situations
Traveling with Children
Kids under 12 can keep their shoes on in standard lanes. Children under 13 can often accompany parents through the family lane, which moves more slowly but is more accommodating.
Use a quart bag for all family liquids. Have kids wear slip-on shoes. Let each child carry their own small backpack with activities. If traveling with an infant, formula and breast milk are allowed in quantities exceeding 3.4 ounces—just declare them at the checkpoint.
Medical Equipment and Medications
Medical devices are allowed through security, but you may need to inform the officer before screening. Medications in pill form can stay in your bag.
Liquid medications over 3.4 ounces are permitted but must be declared at the checkpoint before screening. Insulin and diabetes supplies are exempt from liquid restrictions—notify the officer and they’ll direct you through a separate screening process.
If you have a medical condition requiring special screening, ask for a private screening if the public process makes you uncomfortable. TSA officers are trained to handle these situations with discretion.
Mobility Aids and Wheelchairs
If you use a wheelchair or mobility device, inform the TSA officer at the checkpoint. You’ll be directed to a private screening area in most cases. You can usually remain in your wheelchair through the screening process.
Service Animals
Service animals are allowed through security with their handlers. You’ll need to provide documentation if asked, but the animal can accompany you through the metal detector or be screened separately if needed.
Food and Gifts
Solid foods are generally fine. Anything liquid or gel-like—honey, jam, sauces, oils—must follow the 3-1-1 rule.
If you’re bringing back souvenirs from abroad, check the ingredients. Many countries’ foods are prohibited. When in doubt, pack consumables in checked luggage or ship them home.
Some countries restrict bringing in fresh fruits, vegetables, and meats. Check the USDA’s restrictions before packing any food products in your luggage.
Common Mistakes
These errors cause the biggest delays:
Not preparing documents until reaching the officer. Digging through bags for IDs holds up everyone behind you.
Wearing complicated clothing. Lace-up boots, belts with big buckles, and layers that must be removed all add time.
Forgetting to empty pockets. Coins, phones, and keys trigger alarms and require additional screening.
Packing liquids improperly. Containers over 3.4 ounces get confiscated. Undeclared liquids cause delays.
Waiting to prepare until reaching the bin. Start unloading your bag while in line, not after you reach the front.
Blocking the conveyor belt after screening. Grab your bins and move to the seating area before repacking. Don’t hold up the next passenger.
Final Tips
The real secret to fast security is preparation and calm. Rushing leads to mistakes—dropping items, forgetting things, triggering alarms.
Arrive at the airport with time to spare. Minimum 2 hours for domestic flights, 3 hours for international. This removes time pressure from the security equation.
Know your airline and airport. Different airports have slightly different procedures. Check your specific airport’s security guidelines before arriving.
Stay polite to TSA officers. They’re doing a difficult job. A friendly attitude often results in smoother processing.
Practice makes perfect. Use these tips on every trip. After a few attempts, the process becomes automatic. You’ll become the traveler who breezes through security while others are still untangling their shoelaces.
With TSA PreCheck, smart packing, and these efficiency strategies, you can transform security from a stress point into a minor inconvenience—and sometimes, even a breeze.
Safe travels.